Oreo Dump Cake
If you’re looking for a dessert that’s as easy to make as it is delicious, then this Oreo Dump Cake is the answer! This recipe has a special place in my heart because it combines the rich, chocolatey goodness of Oreos with the creamy delight of Cool Whip. Plus, it takes hardly any time to whip up. Whether it’s a busy weeknight or a family gathering, this cake is sure to impress!
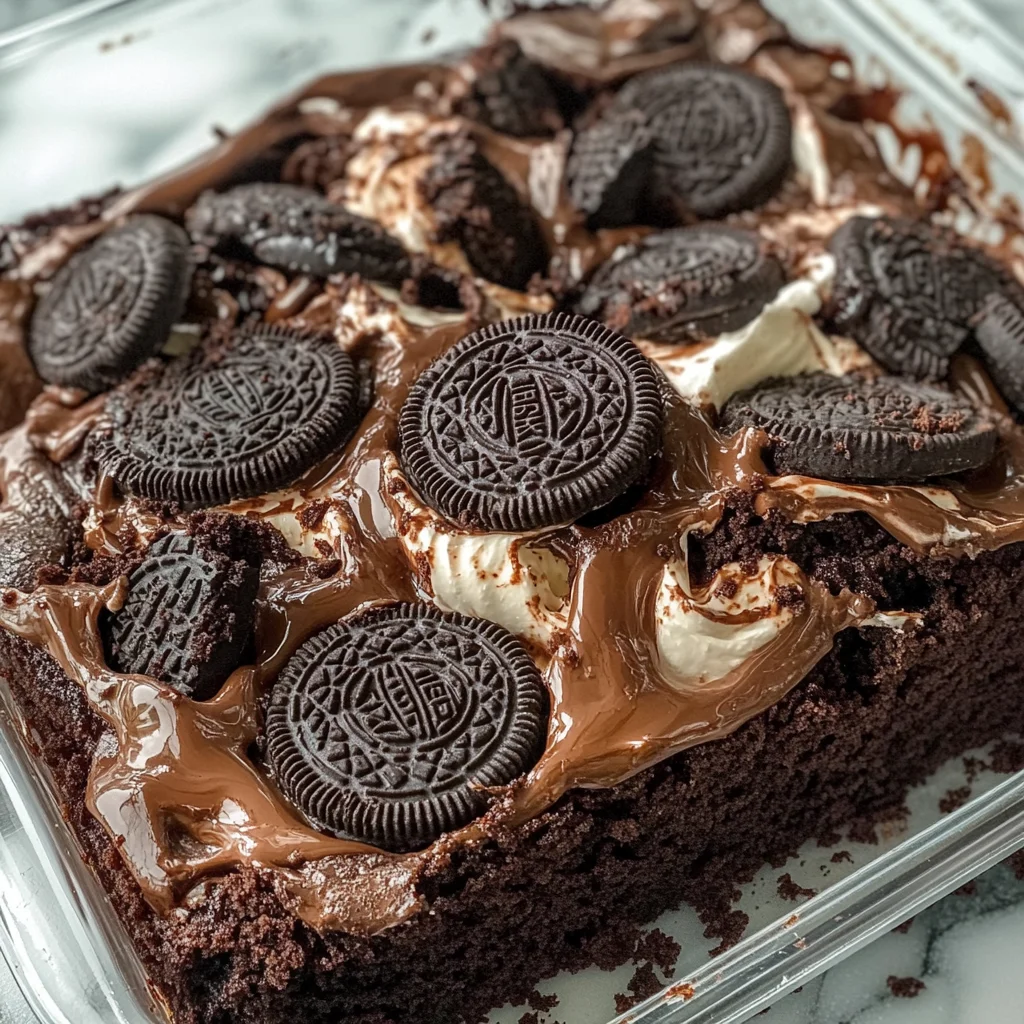
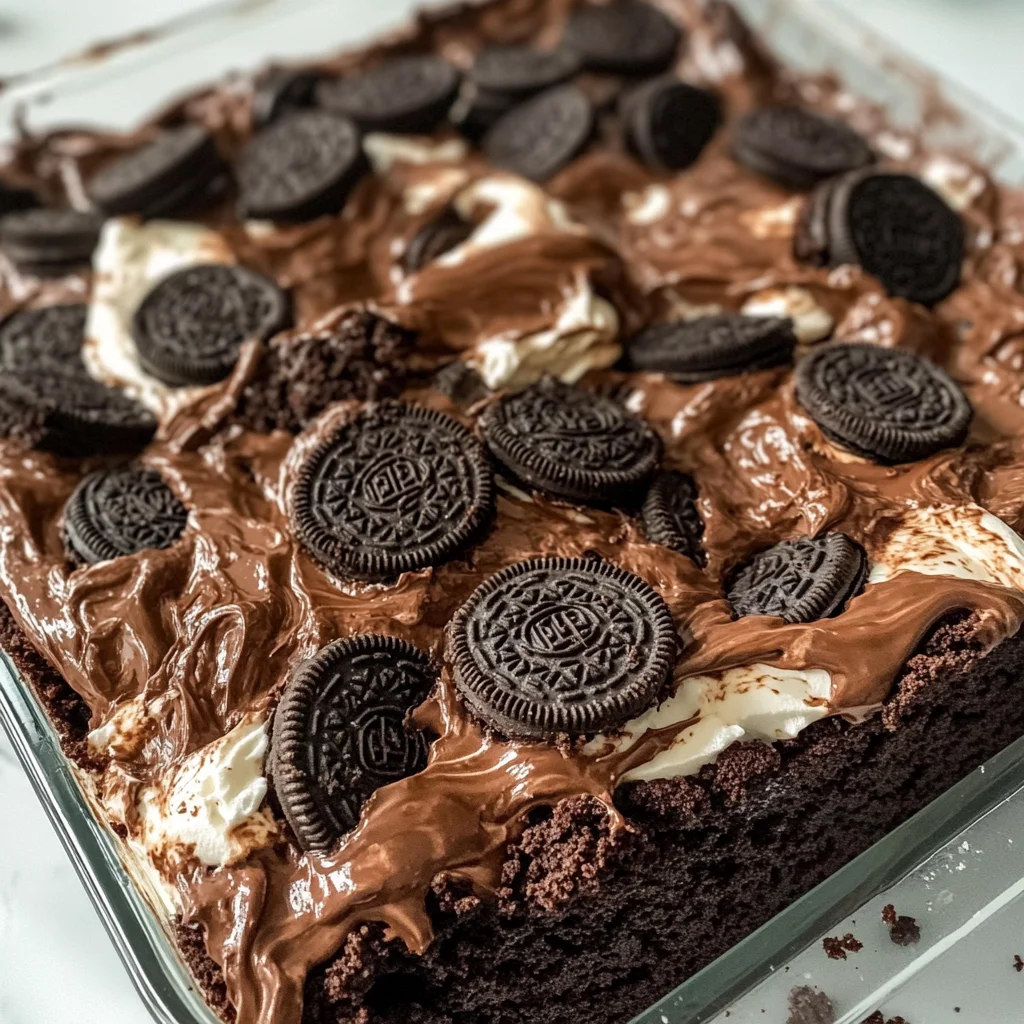
Imagine pulling this warm, gooey treat out of the oven—it’s perfect for potlucks or casual get-togethers. You’ll love how quickly it comes together and how satisfied everyone will be after indulging in such a sweet treat.
Why You’ll Love This Recipe
- Super simple: With just five ingredients, you can have a decadent dessert on the table in no time.
- Crowd-pleaser: Everyone loves Oreos! This cake is sure to be a hit at any event.
- Flexible prep: Make it ahead of time and bake when you’re ready—perfect for busy schedules!
- Gooey goodness: Each bite melts in your mouth, combining creamy and crunchy textures that are hard to resist.
Ingredients You’ll Need
This recipe calls for some simple, wholesome ingredients that you likely already have at home. Gather these goodies to create your yummy Oreo Dump Cake:
For the Cake
- 20 Oreo cookies
- 14 oz sweetened condensed milk (1 can)
- 1 (8 oz) container Cool Whip, thawed
- 1 box chocolate cake mix
- ¾ cup unsalted butter (1½ sticks or 12 tablespoons), cut into small pats
Variations
What I love about this Oreo Dump Cake is how flexible it can be! Feel free to switch things up based on what you have on hand or your personal taste preferences. Here are some fun ideas:
- Add some crunch: Toss in some chopped nuts like pecans or walnuts for extra texture.
- Mix up the cookies: Use different flavors of sandwich cookies like mint or peanut butter for a fun twist.
- Top it off: Serve with fresh berries or sliced bananas for a fruity addition.
- Go overboard with chocolate: Drizzle some chocolate syrup on top before serving for an extra indulgent treat.
How to Make Oreo Dump Cake
Step 1: Preheat the Oven
Start by preheating your oven to 350°F (175°C). This ensures that your cake bakes evenly and comes out perfectly gooey. While the oven heats up, lightly grease a 9×13-inch baking dish with butter or non-stick spray so that nothing sticks!
Step 2: Layer the Oreos
Next, take those delightful Oreo cookies and arrange 10 of them in a single layer across the bottom of your baking dish. This sets the foundation of flavor and adds that iconic cookie crunch right from the start.
Step 3: Add Condensed Milk and Cool Whip
Pour the sweetened condensed milk evenly over the layer of Oreos. Then, gently spread the Cool Whip over the condensed milk using a spatula. This layer brings creaminess into every bite!
Step 4: Add Remaining Ingredients
Now sprinkle the entire box of chocolate cake mix evenly over the Cool Whip layer. Don’t worry about mixing; simply use a fork to break up any lumps in the cake mix. This helps ensure even baking and delicious results.
Step 5: Top with Butter
Distribute those small pats of butter evenly over the surface of the cake mix. It might seem odd not to stir, but this step is key—it allows the butter to melt as it bakes, creating that rich, gooey top!
Step 6: Bake
Pop your masterpiece into the oven and bake for about 40–45 minutes until you see bubbly goodness bubbling away on top. Let it cool for just a few minutes before diving in—you’ll want to savor every warm bite!
Pro Tips for Making Oreo Dump Cake
Making Oreo Dump Cake is a breeze, but a few tips can elevate your dessert game even further!
-
Use fresh ingredients: Ensuring your Cool Whip and sweetened condensed milk are fresh will enhance the flavor and texture of your cake, making it taste even more delicious.
-
Don’t skip the cooling time: Allowing the cake to cool for a few minutes after baking helps it set up nicely, making it easier to serve and enjoy without falling apart.
-
Experiment with cookie flavors: While Oreos are classic, trying different flavored cookies (like mint or peanut butter) can add an exciting twist to your dump cake and cater to various tastes.
-
Add chocolate chips: Sprinkling some mini chocolate chips on top of the cake mix before baking adds extra chocolatey goodness and creates delightful pockets of melted chocolate throughout the dessert.
-
Serve warm with ice cream: Warm Oreo Dump Cake paired with a scoop of your favorite non-dairy ice cream creates a comforting dessert experience that everyone will love!
How to Serve Oreo Dump Cake
Presenting your Oreo Dump Cake can be just as fun as making it! Here are some ideas on how to serve this delightful dessert that will impress your family and friends.
Garnishes
-
Whipped topping: A dollop of extra Cool Whip on each serving not only enhances the creamy texture but also adds a beautiful finishing touch.
-
Chocolate drizzle: Drizzling some melted dairy-free chocolate over the top can make your cake look gourmet while adding an extra layer of flavor.
Side Dishes
-
Fresh fruit salad: A refreshing mix of seasonal fruits provides a light contrast to the rich flavors of the Oreo Dump Cake, balancing out your dessert spread beautifully.
-
Vanilla non-dairy ice cream: Serving this cake warm alongside a scoop of vanilla-flavored ice cream creates a delightful contrast in temperature and texture, making each bite irresistible.
-
Chocolate sauce: Offering chocolate sauce on the side allows guests to customize their servings, giving them the option for even more indulgence if desired.
-
Nutty trail mix: A small bowl of nutty trail mix can provide an appealing crunchy element that complements the soft, gooey cake while offering a nutritious balance.
With these serving ideas and tips, your Oreo Dump Cake will become a beloved staple at all gatherings! Enjoy every slice!
Make Ahead and Storage
This Oreo Dump Cake is not only a delightful treat, but it’s also perfect for meal prep! You can easily make it ahead of time for parties or a sweet weeknight indulgence.
Storing Leftovers
- Place any leftover cake in an airtight container.
- Store it in the refrigerator for up to 3-4 days.
- Allow the cake to cool completely before sealing to maintain its moisture.
Freezing
- Cut the cake into individual portions for easier thawing.
- Wrap each piece tightly in plastic wrap and then place in a freezer-safe bag.
- Freeze for up to 2 months for the best quality.
Reheating
- For single servings, reheat in the microwave for about 30-60 seconds, or until warmed through.
- If reheating the entire cake, place it in a preheated oven at 350°F (175°C) for about 10-15 minutes.
FAQs
Here are some frequently asked questions about this delicious dessert!
What is Oreo Dump Cake?
Oreo Dump Cake is an easy dessert that combines layers of crushed Oreos, sweetened condensed milk, Cool Whip, and chocolate cake mix, all baked into a gooey delight.
Can I make Oreo Dump Cake without Cool Whip?
Yes! You can substitute Cool Whip with homemade whipped cream made from heavy whipping cream and sugar, or use a non-dairy whipped topping if preferred.
How do I store leftover Oreo Dump Cake?
Store leftovers in an airtight container in the refrigerator for up to 3-4 days. Make sure it cools completely before sealing!
Can I freeze Oreo Dump Cake?
Absolutely! You can freeze individual portions wrapped tightly in plastic wrap for up to 2 months. Just reheat before serving!
What makes this recipe special?
The combination of rich chocolatey flavors and the iconic taste of Oreos makes this cake irresistible! It’s super easy to prepare and perfect for any occasion.
Final Thoughts
I hope you’re as excited to dive into this scrumptious Oreo Dump Cake as I am! It’s truly a crowd-pleaser that brings smiles all around. Whether you’re making it for a special gathering or just because you deserve a treat, I know you’ll love how simple yet delightful it is. Enjoy your baking adventure, and don’t forget to share your experiences with friends and family! Happy baking!
Oreo Dump Cake

Indulge in the delightful simplicity of Oreo Dump Cake, a dessert that combines layers of rich chocolatey goodness with the iconic taste of Oreos. This easy-to-make treat requires just five ingredients and minimal prep time, making it perfect for busy weeknights or special gatherings. Imagine pulling a warm, gooey cake from the oven, its creamy Cool Whip layer melting into crunchy Oreo bits—an irresistible combination that will leave everyone wanting more. Whether you’re hosting a potluck or enjoying a family dinner, this crowd-pleaser is sure to impress and satisfy every sweet tooth.
- Prep Time: 15 minutes
- Cook Time: 45 minutes
- Total Time: 1 hour
- Yield: Serves approximately 12 1x
- Category: Dessert
- Method: Baking
- Cuisine: American
Ingredients
- 20 Oreo cookies
- 14 oz sweetened condensed milk (1 can)
- 1 (8 oz) container Cool Whip, thawed
- 1 box chocolate cake mix
- ¾ cup unsalted butter, cut into small pats
Instructions
- Preheat oven to 350°F (175°C) and grease a 9×13-inch baking dish.
- Layer 10 Oreo cookies on the bottom of the dish.
- Pour sweetened condensed milk evenly over the Oreos, then spread Cool Whip on top.
- Sprinkle the entire box of chocolate cake mix over the Cool Whip without mixing.
- Distribute small pats of butter evenly on top of the cake mix.
- Bake for 40–45 minutes until bubbly and golden brown. Let cool slightly before serving.
Nutrition
- Serving Size: 1/12 of cake (approximately 95g)
- Calories: 320
- Sugar: 24g
- Sodium: 250mg
- Fat: 16g
- Saturated Fat: 10g
- Unsaturated Fat: 6g
- Trans Fat: 0g
- Carbohydrates: 40g
- Fiber: 1g
- Protein: 3g
- Cholesterol: 30mg